
Mechanical DIY: How to Replace a Clutch in 8 Steps
Do you know some of the common symptoms of a bad clutch?
If your car is hurting for a clutch replacement, what should you do next?
For most car owners, a clutch problem is an automatic visit to the repair shop. But you should know that total repair costs will set you back between $600 to $1100. Labor costs make up a big piece of the repair pie, to the tune of $500 to $700.
But if you know how to replace a clutch by yourself, you only need to pay for the replacement parts.
And yes, a clutch replacement can seem intimidating because it involves pieces that are heavy and difficult to get to. But like most DIY car fixes, all you need is some elbow grease and a methodical approach. We’ll show you how to do that in this article.
Let’s get started.
1. Prep and Organize
Before working on any automotive repair, make sure that you have everything you need.
Here are some of the tools that you’ll be using:
- Ratchet
- A good socket set with extensions and possibly a universal joint extension
- A wrench set, including a torque wrench
- Pry bar
- Clutch alignment tool
- Pilot bearing removal tool (can be rented from a local parts store)
- Jack, jack stands, and transmission jack
- Screwdriver
- Drain pan
- Grease, lubricant, brake cleaner
- Rubber gloves, protective eyewear, air mask
If you know the parts that are damaged, you can buy replacement parts before working on your car. The common culprits are the clutch disc, the pressure plate, and the throw-out bearing. Altogether, these parts retail for only $90 to $400, and only high-performance parts get close to $400.
2. Expose the Work Area
Just like a surgeon, to get to the heart of the problem, you want a clear view of the area that you’ll be working on. This necessitates removing the transmission and other parts near the clutch.
We’ll not go into too much detail but we’ll summarize the steps needed to lower down the transmission.
- Use a jack and jack stands to lift and support the vehicle.
- Remove the negative battery cable.
- Remove the shifter.
- Disconnect the exhaust pipe.
- Drain the transmission fluid.
- Remove the interior parts under the hood. These include the drive shaft, the starter, and the hydraulic cylinder host.
- Disconnect the wiring harness.
- Unbolt the transmission mount and then the transmission itself. Your transmission can now be removed. You can use a transmission jack to safely lower the transmission.
3. Remove the Pressure Plate
Once the clutch assembly is exposed, the next step is to remove the pressure plate. During this procedure, dust is likely to fly around so make sure to wear an air mask. It also helps to spray the clutch with water so the dust doesn’t become airborne.
The pressure plate is held by six bolts that are screwed into the flywheel. You need to leverage the flywheel so it doesn’t rotate as you start to undo the bolts.
Before you unscrew the last bolt, hold the pressure plate with your other hand so it doesn’t fall off as soon as the bolt is removed. You can now remove the pressure plate with the clutch from the flywheel by grabbing the center and pulling gently.
4. Inspect the Pressure Plate and Clutch Disc
Check the pressure plate for grooves along the surface. Also check if the springs are level with each other, complete, and straight. If none of the springs are missing or bent or there are no deep grooves, your pressure plate is still serviceable.
Now, inspect the clutch disc for signs of wear. You can tell if it’s worn out by looking at the rivets. If the rivets are sticking out of the clutch material, that means that the clutch lining is worn out.
Also, check the springs and the spline section of the disc for looseness or play. If these things are present, it may be time to replace the clutch. You should consider an ACT clutch that has a steel-backed lining for greater burst strength and durability.
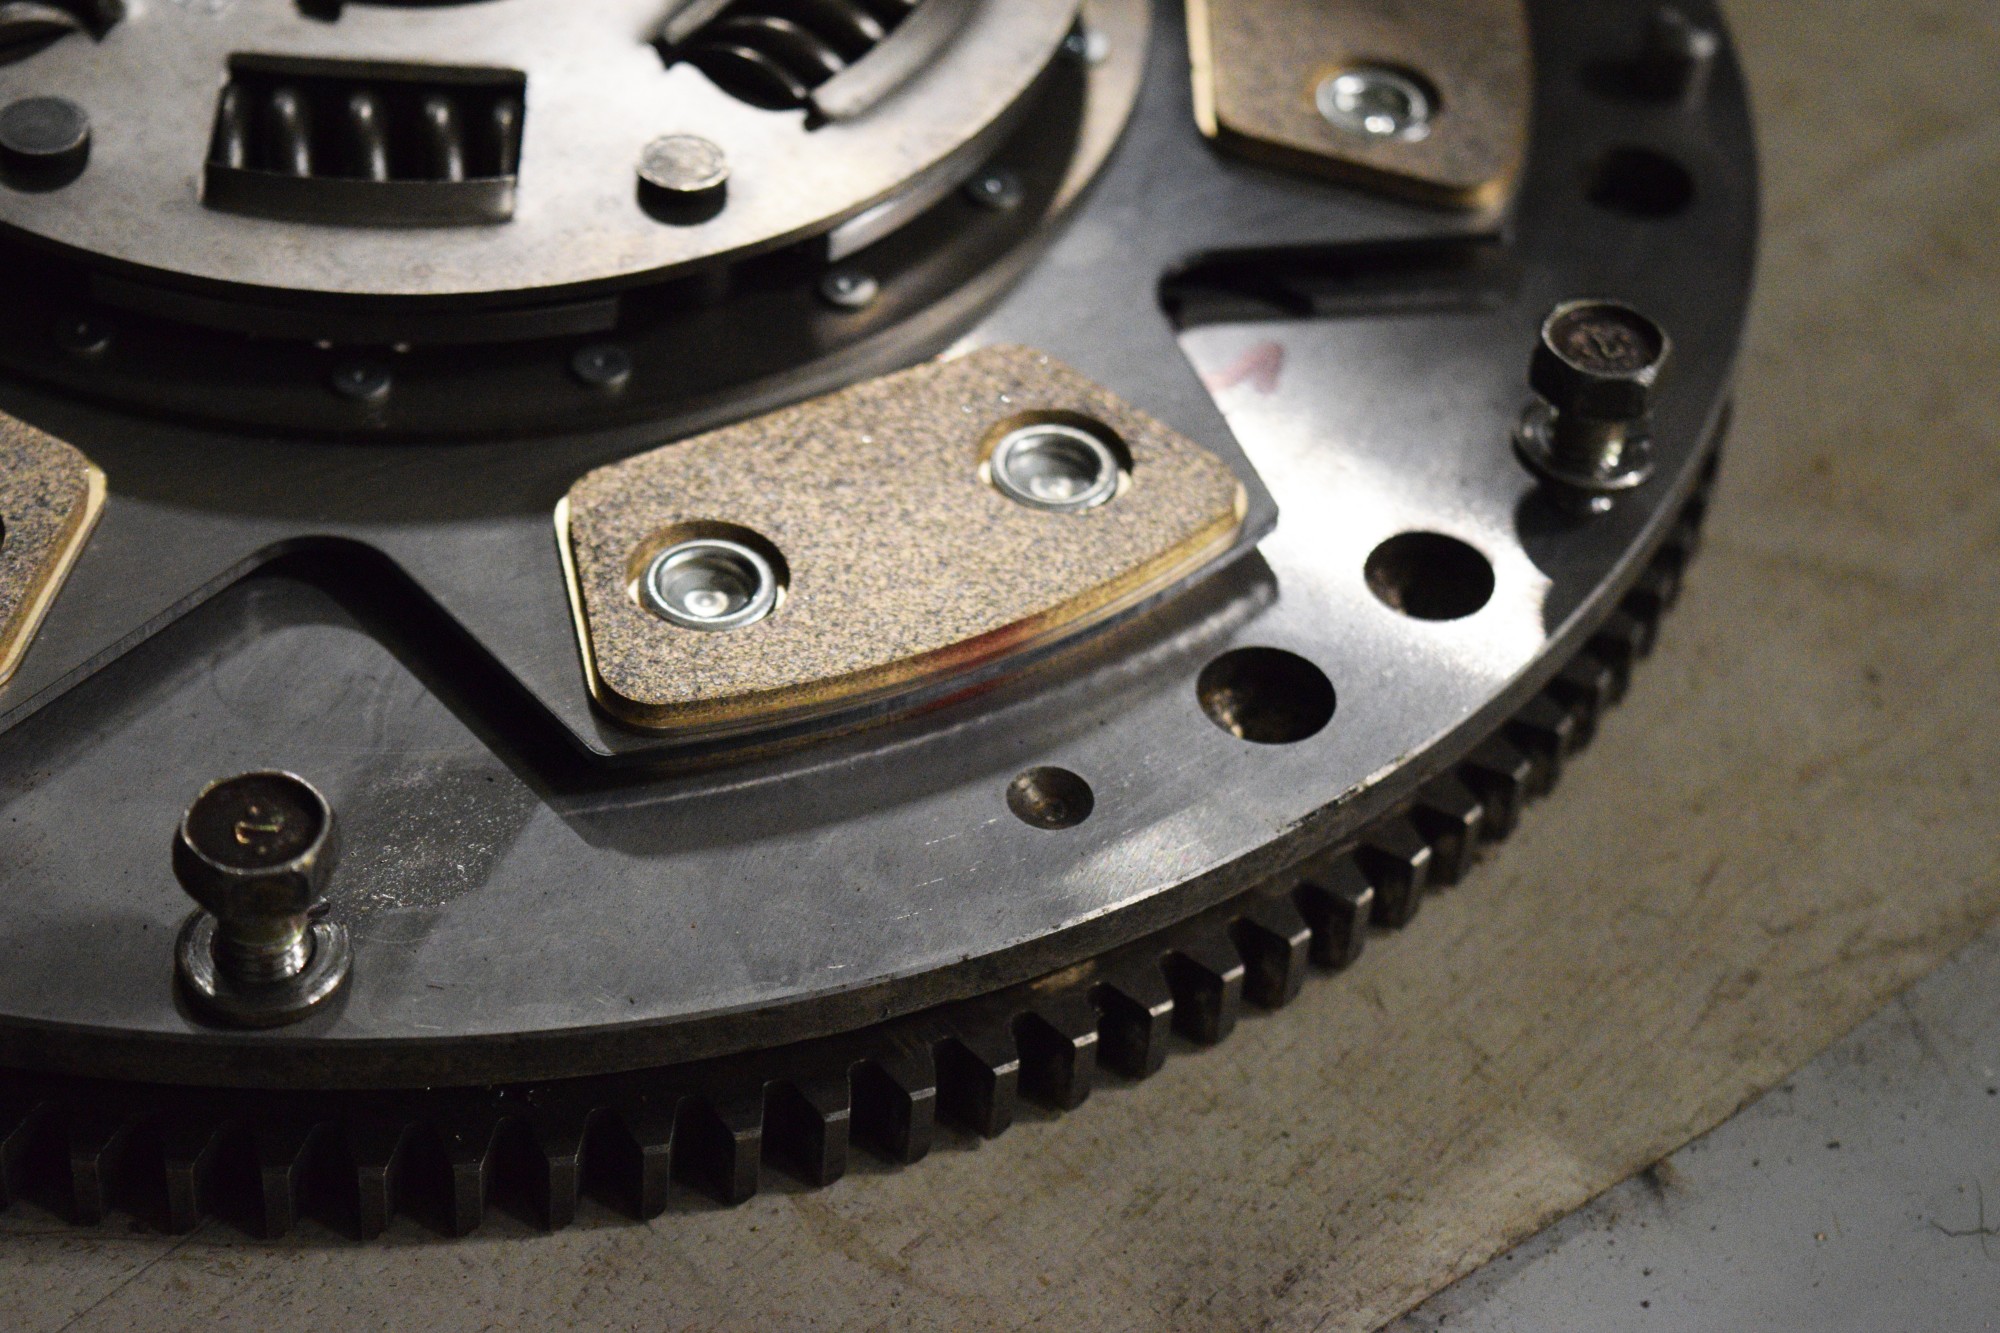
5. Check the Flywheel and Pilot Bearing
With the pressure plate and clutch disc removed, the flywheel is now exposed. Again, you’re looking for deep grooves and cracks. You’re also checking for signs of extreme heat checks such as discoloration on the metal and hot spots.
These are indicators that the flywheel is in contact with the rivets and that the clutch is slipping.
For minor grooves and discoloration, flywheel replacement may not be necessary. The flywheel can be resurfaced by your local mechanic and is usually not that expensive. But make sure that the flywheel is re-machined if you’re going to install a new clutch.
The pilot bearing at the center of the flywheel can be worn out or locked up. If this happens, you’ll have to replace the pilot bearing. To remove the pilot bearing, you’ll need a special tool or this ingenious method with grease and bread.
6. Install the New Clutch
With a new or resurfaced flywheel in place, you can now install the new clutch disc. But before doing so, use brake cleaner to remove grease and dirt from the surfaces of the flywheel and pressure plate.
Next, slide in the clutch disc guided into proper position by the clutch alignment tool. After that, you can bolt the pressure plate back on. Use a torque wrench to tighten the bolts to factory specifications.
7. Replace the Throw-Out Bearing
The throw-out bearing is part of the transmission that has a high failure rate. When replacing the clutch, it’s highly advised to replace the throw-out bearing as well.
8. The Last Step in How to Replace a Clutch: Testing
Once you’ve put everything back together, it’s important to test the performance of your new clutch. Drive it around the block, and listen for squeaking, rattling or chatter which should not be present.
Replacing a Clutch Is Tough but Doable
We didn’t say that it was going to be easy. But it’s something that you can do by yourself as long as you have a systematic approach. Knowing how to replace a clutch is valuable knowledge that can help you save a lot of money.
Did you find this article useful? For more car repair and maintenance tips and advice, don’t hesitate to check out our other posts.