
Toyota Camry Headlight Replacement: A DIY Guide
Your headlight bulb will last 500 to 1,000 hours. Which means at some point you will need to replace your headlight bulbs.
This may sound like a daunting task, but in reality, it is quite easy. It is also necessary for safety so you can see while driving at night.
We are going to walk you through a Toyota Camry headlight replacement. You are going to find out what bulbs to buy, how to change them, and alignment.
This how-to guide focuses on your low beam bulbs. The same process can work for your high beam, turning, or running light bulbs.
Buying The Bulbs
Replacing Toyota Camry headlight bulbs is a simple process that you can do yourself in less than an hour. There are two parts to the replacement.
First, you will replace the old bulb with the new bulb. Then you will align the new bulbs once it is dark outside.
The Blub Size
Most Toyota Camrys use an H11 bulb for the low beam. The high beam is the 9005. Check your service manual to confirm that these are bulbs your car uses.
Manufacturers
For standard OEM bulbs, you’ll find Sylvania, SilverCar, and AC Delco. For the Xeon Blue style bulbs look for Putco or Nokya.
Cost
Stock OEM bulbs will cost $20 to $40 for two bulbs. Aftermarket bulbs can cost more going up to a couple hundred dollars.
Types of Bulbs
There are three main types of headlight bulbs. The halogen or filament bulbs are the stock bulbs that came in your car.
Halogen Bulbs
These bulbs work like household light bulbs with a filament. Halogen gas fills the bulbs to make them bright.
Sometimes you will find them filled with xenon gas. These are not the same as the next bulbs we will talk about.
HID or Xenon Bulbs
High-Intensity Discharge bulbs do not have a filament. The light is the result of an electric arc between electrodes.
Xenon gas fills the bulbs. If you choose these, you will need a ballast to control the electricity output to the bulb. This box mounts on the inside of your car but outside of the headlight housing.
You can usually find a plug and play wiring connection. This will let you plug into the car’s wire harness and the bulb.
LEDs
Light Emitting Diodes are the latest trend in headlight bulbs. They have low power requirements and a very long use life.
You will find this style bulb on very new vehicles. You can convert an older car to LED. Their difference in power draw will cause warning lights to trigger on your dash.
Toyota Camry Headlight Replacement
Inside your vehicle, locate the steering column. Release the hood lever near the column so the hood of the car pops open.
You’ll need to raise the hood so you can access the engine bay. You should have a bar at the front the engine bay that will hold the hood up.
Remove the Old Bulb
Start the process by finding the wiring harness. Press the small lever on the harness where it attaches to the bulb.
With the wires out of the way, turn the bulb counterclockwise. After 1/8th to 1/4th of a turn, you should be able to pull the bulb out.
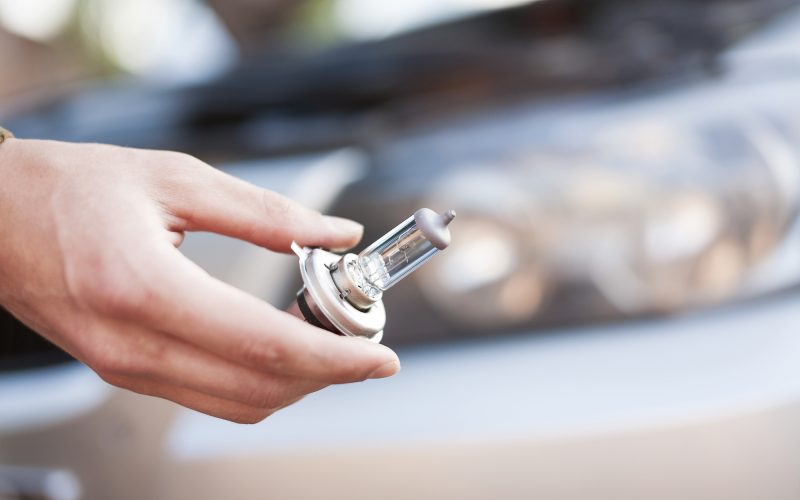
Install the New Bulb
Insert the new bulb straight into the hole where the old bulb sat. Rotate it clockwise to lock it into place. Do not touch the bulb part with your bare hands.
You know you have done it right when the wire harness plug is facing down. You will then reattach the wire harness. It will slide on and clip into place.
Turn the headlights on to check that the bulbs work. If they don’t, you may need to check the wire harness connections.
Aligning Your Headlights
Once your new bulbs are in place, you need to make sure they point in the right direction. Once it is dark outside point your car towards a vertical wall.
Make sure the ground is level and the car is 10 feet away from the wall. Turn your headlights on so they are lighting up the wall.
The wall you choose should be at least 2 feet wider than the car you are aligning. It is best if the wall is white or lighter colored.
You will then move the car forward as close to the wall as possible. Turn on the lights and find the center of the light beams.
Use tape to mark the horizontal and vertical center lines. Do this for both lights. Check that the lights are level.
Measure how far up or down the wall the light needs to go for both lights to be level. They shouldn’t be higher than three and a half feet.
Before You Start
Check that your tires have the correct amount of air pressure. Consider how much gas is in your car.
Do your adjusting with a driver in the car. These things will affect the height of the headlights.
Locate the Adjusters
You will need to locate the horizontal and vertical adjusters for each light. The vertical adjuster is usually a screw at the top of the headlight housing.
The horizontal adjuster is either on the side or back of the headlight. Sometimes you will find a bolt or wheel instead of a screw.
Adjusting the Lights
Block one light while you adjust the other. This will let you see the beam on the wall.
The top of the intense part of the beam should be even or right below the horizontal line. The side of the intense beam should be even with or to the right of the vertical line.
Test Your New Lights
Now that you’ve completed your Toyota Camry headlight replacement, test drive your car. Take it out for a spin at night and make sure the lights point in the right direction.
You should be able to see the road. You should not be blinding the oncoming traffic.
If you find that things aren’t quite right, go back to step one and decide if you have the right bulbs in. Then determine if you need to do more adjusting of the aim.
Be sure to download the service manual for your Toyota Camry today!