
How to Apply Car Decals (And Remove Them Again)
Last year, the company StickerGiant generated over $8 million selling stickers! There’s no surprise there, after all, people love stickers especially in the form of decals. But do you know how to apply car decals in a way that won’t damage your vehicle?
Here we will discuss some common ways to apply your car decal without having to worry about it being permanent or ruining your paint job.
What Are Decals
Decals have been around for quite some time as a temporary and fun way to add character to your car. There are a wide variety of decals that can be placed either on the windows or the bodies of your car.
Decals are similar to stickers in the way that you simply peel and stick them where you like. Decals can range from individual stickers representing the family to the logo of your favorite sports team.
Where to Find Them
Decals can be found anywhere from stores to gas stations. However, the best decals can be found online. By shopping for your decals online you’re guaranteed to have a wider assortment to choose from.
Everyone is tired of seeing the same decals repeated on car after car. We suggest buying your decal stickers from a site that offers a large variety with a great sense of humor!
How to Apply Car Decals
Contrary to popular belief, anyone can apply a car decal in a way that looks clean and professional, no matter the size. The trick is to make sure you have the right materials and to take applying your decal step by step.
Here we will break down some simple tips to help you apply your new decal to your car.
Clean Your Car
Here’s What You’ll Need:
- A Bucket of Water
- Soap
- A Car Friendly Cleaning Cloth
- Masking Tape
- Window Cleaner
- Vinyl Graphics
If your car has dirt on it, it will be more difficult for the decal to truly stick, which is why it’s important to give it a proper cleaning first. Use your masking tape and measuring tape to mark off the area where you would like to place your decal.
The masking tape also helps to ensure the placement of your decal is aligned. Then, using your soapy water and cloth give the area a good clean, dry with a microfiber cloth.
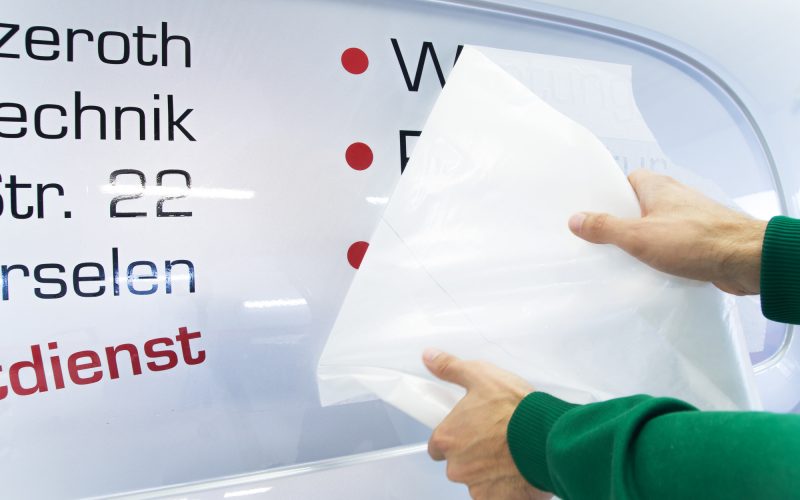
Peel and Stick Your Custom Decal
Next, it’s time to remove your decal. You’ll want to be really careful here, especially if your decal features thin lines that can easily become twisted or ripped.
Using a spray bottle of alcohol to spray the area where the decal goes will help it stick longer. You can also use an auto body squeegee to make sure the surface is entirely dry and free of debris.
Use the Half and Half Method
The half and half method is a simple method that allows you to position the decal exactly the way you want it. To do so you’ll need:
- An Auto Body Squeegee
- Decal
- Microfiber Cloth
- Razor
- Scissors
- Spray Bottle of Alchohol
To do the half and half method, simply spray on the alcohol to the spot where you would like to place the decal, then dry with the microfiber cloth. Next, use your razor to cut the wax paper (on the back of your decal) down the middle without cutting through to the decal.
Remove half of the wax paper and place the sticky portion on your car. Once you’re sure the decal is aligned, remove the other half of the paper to completely stick on the decal.
Wet Your Decal
Once your decal is in place, take a damp cloth and gently run it over the decal, just enough to get it a little wet. This will also help the decal stay in place.
How to Remove Car Decals
Not only are decals easy to apply to your car, but you can also take them off whenever you like.
By falling a few easy steps you’ll find that no decal has to be a permanent addition to your vehicle
Clean the Area
Here’s What You’ll Need:
- A Bucket of Water
- Soap
- A Car Friendly Cleaning Cloth
- Window Cleaner
Just as you did when you applied your decal, give your car a nice scrub down to help lift the decal slightly.
Warm the Decal Up
Many people are surprised to find that heat is the secret weapon in removing your decal. You can easily do this with a hairdryer, just be sure not to hold it too close to your vehicle.
Having too much heat directly pointed at your car for too long can damage your paint job and the body of the car. So try to do it in brief periods with a fair amount of distance.
Scrape
Once your decal has begun to lift (thanks to the heat), you’ll want to begin to remove it from the car. Remember, NEVER peel a decal directly off the car. There’s a much higher likelihood that you will lose paint that way.
Instead gently scrape the decal off of the care using a dull item (a cd works great), starting from the edges and working your way in.
Try Glue Removal Products
Now that you’ve removed your decal, there will more than likely be traces of glue left over on your car. This can easily be removed by using some simple glue removal products.
Rewash
Finally, give the space one more wash, just to make sure any residue has been removed and won’t stick to where the decal one was.
Help Your Car Stand Out
Now that you know how to apply car decals, it’s time to look into the many other ways you can make your car stand out. It’s never been easier to customize your car to show off your personality.
Just take some time to consider what looks great to you in a car. From tinted windows to wheel designs, there’s no end to what you can come up with.